Are you prepared to spice up your appetizer game with a flavorful explosion and melty cheese? These Cheesy Zucchini Skins are the only thing you need! With this recipe, regular zucchini becomes a delicious and versatile treat that can be enjoyed on any kind of occasion. These zucchini skins will satisfy your savoury cravings whether you’re having a party, searching for a great snack, or just in the mood for something savoury. Now let’s get started making this delicious dish step-by-step.
Ingredients: (Things need to make Cheesy Zucchini Skins)
- zucchinis, halved
- olive oil
- salt and pepper to taste
- grated parmesan
- garlic powder
- onion powder
- dried oregano
- dried parsley
- shredded parmesan cheese
- paprika or Chili flakes
- optional garnish: fresh parsley
Know Your Ingredients
- Zucchinis: Zucchinis steal the show with their satisfyingly tender texture and subtle, earthy flavour. Rich in vitamins and minerals, they contribute not only to the flavour of the dish but also give it a wholesome element.
- Olive Oil: Olive oil is essential for giving the zucchini skins their ideal golden-brown crispiness and gives them a rich, savoury depth. The overall flavour profile is enhanced by its subtle fruitiness.
- Parmesan Cheese: Grated and shredded parmesan cheese forms the foundation of this recipe’s cheesy goodness. Its nutty, salty undertones give the zucchinis a decadent, gooey layer.
- Seasonings (Salt, Pepper, Garlic Powder, Onion Powder, Dried Oregano, Dried Parsley): Together, these seasonings produce a burst of flavour. Every component, from the warming garlic and onion powders to the fragrant herbs, adds to a flavorful and well-balanced dish.
- Paprika or Chili Flakes: Chilli flakes or paprika give the meal a mild kick for those who are looking for a tad more spice. This optional ingredient balances the richness of the cheese by adding a hint of spice.
- Optional Garnish: Fresh Parsley: The final ingredient, fresh parsley, adds a dash of colour and a cool herbal note. It’s optional, but it adds a last layer of flavour and improves the visual appeal.
Equipment
- Baking Sheet: For your Cheesy Zucchini Skins to have the ideal golden-brown exterior, you must use a baking sheet. To make cleanup easier and to stop it from sticking, line it with parchment paper.
- Parchment Paper: This essential kitchen tool guarantees your zucchinis will bake on a non-stick surface. It streamlines the cooking process and facilitates easy cleanup.
- Spoon: Scoop out the flesh of each zucchini half with a spoon. This is an important step in making the hollowed-out base that will hold the flavorful filling.
- Brush: A brush is useful for applying olive oil evenly to the scooped side of each zucchini. This ensures a consistent coating and contributes to the crispy texture of the dish.
- Oven: Preheat your oven to 400°F for the best results when baking the zucchini skins. An oven thermometer can assist in maintaining precise temperature control.
- Grater: A grater is required for the parmesan cheese. To make that irresistible cheesy crust, finely grate the cheese for the filling and generously shred it for the top layer.
Instructions: (How to make Cheesy Zucchini Skins)
Step 1: Preheat and Prepare
Begin by preheating your oven to 400°F. Line a baking sheet with parchment paper to make cleanup easier and to prevent sticking.
Step 2: Hollow Out the Zucchinis
Scoop out the flesh of each zucchini half with a spoon. Don’t throw away the scooped-out flesh; save it for a future omelette or a quick veggie sauté.
Step 3: Brush and Season
Brush each zucchini’s scooped side with the luscious richness of olive oil. This not only improves the flavour but also contributes to the perfect golden crispiness. It’s now time to season. To stimulate the taste buds, season with salt and pepper. Then top with a generous layer of grated parmesan, which will infuse the zucchinis with a cheesy goodness that will make your palate dance.
Step 4: Flavor Explosion
The magic doesn’t stop there; now it’s time to add flavour layers. Sprinkle each zucchini piece evenly with garlic powder, onion powder, dried oregano, and dried parsley. This combination produces a symphony of savoury and aromatic notes, making your kitchen smell like a gourmet haven.
Step 5: Cheesy Bliss
Now comes the show-stopping shredded parmesan cheese. Cover each zucchini half generously with shredded parmesan. The cheese will melt into a gooey, irresistible layer as it bakes, tying all the flavours together.
Step 6: Spice it Up
Sprinkle the tops of each zucchini with paprika or chilli flakes if you like a little heat. This optional step adds a subtle kick to the cheese, balancing its richness with a hint of spice.
Step 7: Bake to Perfection
Place the seasoned zucchini halves on the prepared baking sheet and bake for 20 minutes. Bake for about 20 minutes, or until the zucchinis are fork-tender. Keep an eye on them because you want the perfect combination of crispiness and tenderness.
Step 8: Garnish and Serve
Admire the golden-brown perfection once it’s out of the oven. To finish, garnish with chopped fresh parsley. This optional step not only improves the visual appeal but also adds a burst of vibrant flavour.
Storage and Reheating Instructions for Cheesy Zucchini Skins:
Storage:
Refrigeration: Allow any leftover Cheesy Zucchini Skins to cool completely. Place them in an airtight container, with parchment paper between layers to prevent sticking. Store in the refrigerator for up to 2-3 days.
Freezing (Optional): If you want to keep the Cheesy Zucchini Skins for a longer period, you can freeze them. Individually flash-freeze the pieces on a tray, then transfer them to a freezer-safe bag or container. For easy reference, label with the date. Frozen zucchini skins can be kept in the freezer for up to two months.
Reheating:
Oven Method:
Preheat your oven to 350℉.
Place the refrigerated or thawed zucchini skins on a baking sheet lined with parchment paper.
Reheat for approximately 10-15 minutes or until warmed through and the cheese is melted and gooey.
Toaster Oven or Air Fryer:
For a quicker reheating option, use a toaster oven or air fryer.
Preheat the appliance to 350℉ and place the zucchini skins on the rack or basket.
Reheat for 5-7 minutes, checking periodically to ensure they don’t overcook.
Microwave (for small portions):
Place a single layer of zucchini skins on a microwave-safe plate.
Heat on medium power for 1-2 minutes, checking and rotating halfway through. Microwave times may vary, so adjust accordingly.
Note:
Avoid reheating in the microwave for too long, as it may result in a softer texture.
For frozen zucchini skins, thaw in the refrigerator overnight before reheating using one of the methods above.
These Cheesy Zucchini Skins are a multi-purpose delight. Serve them as an appetizing appetizer at your next get-together, a savoury snack during movie night, or even as a side dish alongside your favourite main course. They’re a crowd-pleaser for all ages thanks to their crispy exterior, gooey cheese, and flavorful seasoning. From the crispiness of the zucchini skin to the creamy, melted cheese, each bite offers a harmonious blend of textures and flavours. The seasoning medley adds depth, making this dish a true culinary masterpiece.

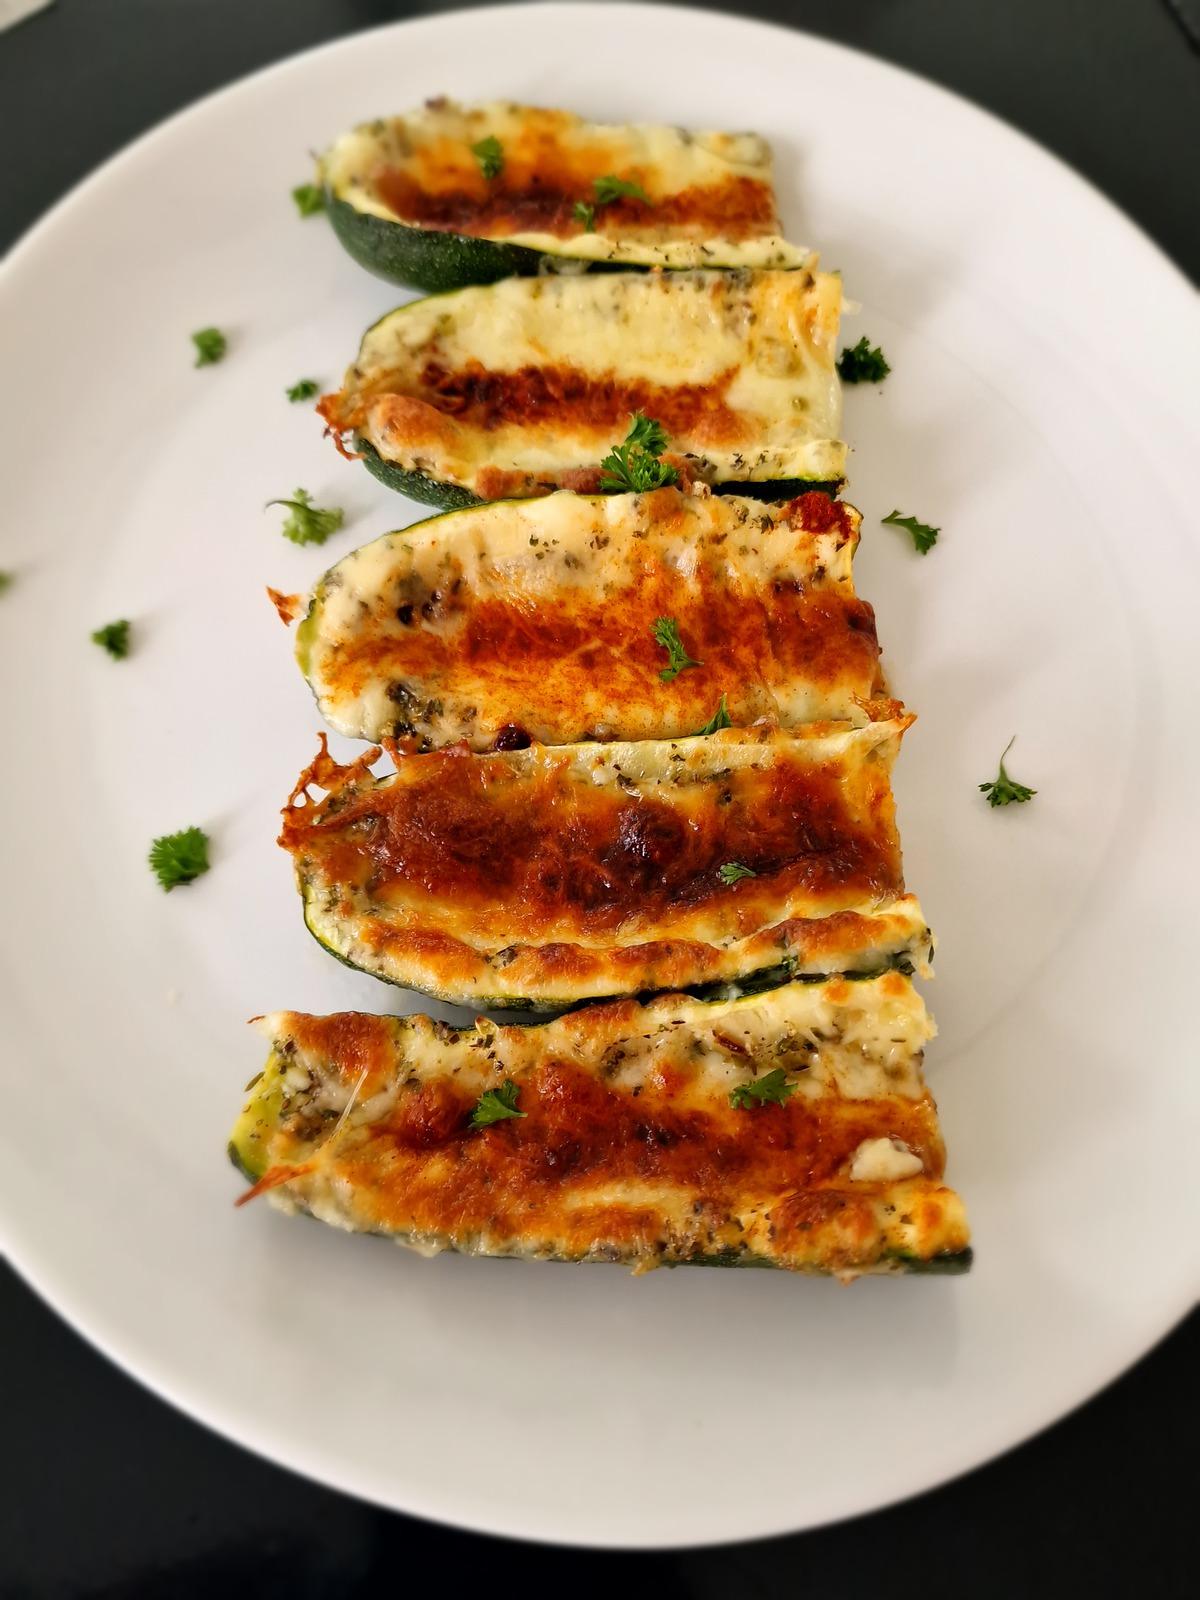
Cheesy Zucchini Skins
Ingredients
- 4 zucchinis halved
- 2 tbsp olive oil
- salt + pepper to taste
- 2 tbsp grated parmesan
- ½ tsp garlic powder
- ½ tsp onion powder
- ½ tsp dried oregano
- 1 tsp dried parsley
- 1 cup shredded parmesan cheese
- 1 tsp Paprika or Chili flakes
- Optional garnish: fresh parsley
Instructions
- Preheat your oven to 400℉. Line a baking sheet with parchment paper.
- Using a spoon, scoop out the flesh of each zucchini half. (Reserve the flesh for an omelette or a quick veggie sauté at a later date).
- Brush the scooped side of each zucchini with olive oil. In this order, season with salt and pepper to taste, then add the parmesan, garlic powder, onion powder, oregano, and shredded cheese evenly to each piece. Sprinkle the tops of each with paprika or chilli pepper flakes.
- Bake for 20 minutes or until the zucchini is just fork-tender.
Expert Tips
Choose the Right Zucchinis: Choose large zucchinis that are bright green. They should be firm and free of soft spots when touched. Larger zucchinis are easier to hollow out, resulting in a strong foundation for the cheesy filling.
Perfect the Hollowing Technique: To maintain structure and prevent the skins from becoming too fragile, leave about a quarter-inch thickness when scooping out the zucchini flesh. To reduce waste, save the scooped-out flesh for other recipes such as omelettes or vegetable sautés.
Layering is Key: By evenly layering the seasonings, you can create a symphony of flavours. Begin with the basic salt and pepper, then add the grated parmesan to make a cheesy base. For a well-rounded flavour profile, combine the garlic powder, onion powder, dried oregano, and dried parsley. On top, the shredded parmesan creates a gooey, golden crust.
Mindful Spice Application: If you want to add some heat, use paprika or chilli flakes sparingly. The goal is to enhance the overall flavour of the dish without overpowering it. When incorporating this optional element, use a light hand and consider personal spice preferences.
Keep an Eye on Baking Time: During the baking process, keep an eye on the zucchini skins. Because oven temperatures can vary, check for doneness after 15 to 20 minutes. The skins should be fork-tender and golden brown on the outside. Overcooking will result in mushy zucchini, so aim for the ideal balance of crispiness and tenderness.
Thank You
Thank you so much for reading this Cheesy Zucchini Skins recipe! I hope you try this recipe and that you enjoy it as much as my family and I did! When you do make these Irresistible Cheesy Zucchini Skins, be sure to tag me on Instagram @pure_plates_recipe!
See you soon!